Ed. Note: Happily, one of the most elegant and popular choices for a bridal bouquet — the hand-tied variety — is also the easiest to master. With a couple of trial runs, you’ll soon learn to make your own floral masterpieces for yourself and your bridesmaids … while saving a ton of money.
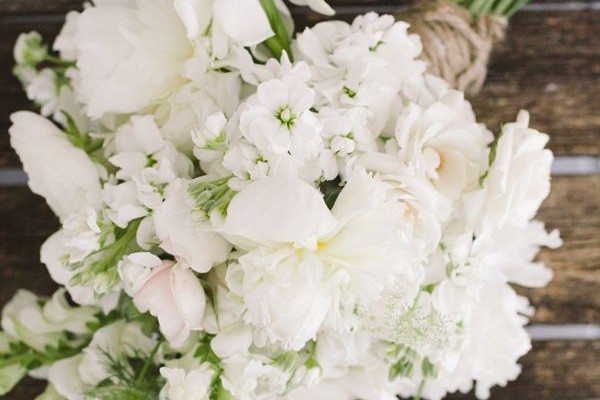
For a sleek, contemporary look, use only one style of flower (red roses are among the most popular, as are a mixture of red and white roses or colored calla lilies), with or without a finishing collar of leaves or lace. For a more eclectic style, whip up a mixed bouquet with a contemporary edge, such as green mums and arched bear grass. For an unforgettable flower girl or junior bridesmaid bouquet, use matching rosebuds.
By Fay Chamoun
 Pinterest
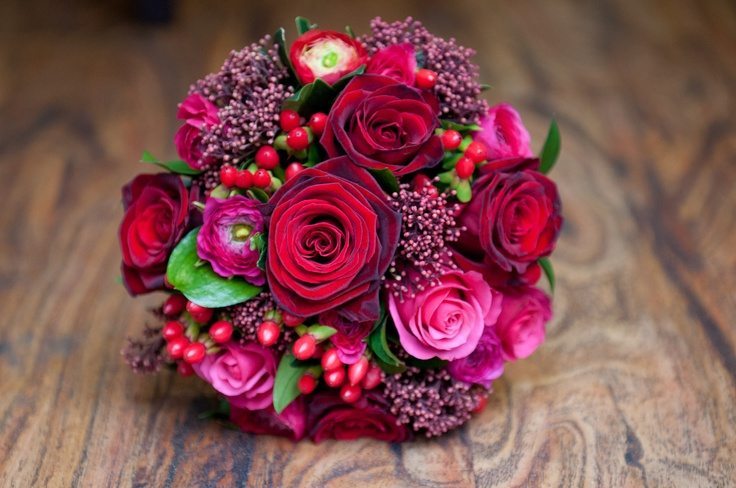
Choose the right materials — you’ll need flowers with fairly long stems, such as roses, irises, carnations, alstroemeria, freesias, Singapore orchids or lisianthus. Great choices for foliage include camellia leaves, eucalyptus gum, box, ivy, nandina and leather fern. If you want a mixed bouquet, choose three to four varieties of flowers, plus the foliage. Cut about a yard of string ahead of time.
Getting Started With Your Hand-Tied Bouquet
Cut the ends of the stems on a slant and give flowers a long drink. Remove the thorns, and strip off the lower foliage from the bottom half of the stems. Lay your flowers out on the table, blooms facing toward you. Start off with the largest flower to form the center. Hold the stem between your thumb and first finger on the left hand, about 6-8 inches from the base of the flower head.
 Pinterest.
Now with your right hand, add about 4- 6 clusters of foliage to frame your center flower (if you’re creating a mixed bouquet), evenly and just below the flower head to help fill in the bouquet, criss-crossing the stems on an angle and rotating the bouquet as you work. The goal is to create a “fulcrum” with your stems — a point where all the stems cross each other.
Ordinarily, you create this fulcrum near the top of the area where you stripped the leaves, about halfway down the stem.Point the blooms toward you as you work — not the stems. Secure the stems by winding a piece of string around a couple of times. Don’t cut the string!
Build It Up; Fill It Out
Holding the bouquet in the same way as before, with the thumb facing towards you, place 5-6 stems of the same type of flowers evenly around, turning the bouquet clockwise, and inserting the stems at a 45 degree angle.
 lemagnifiqueblog
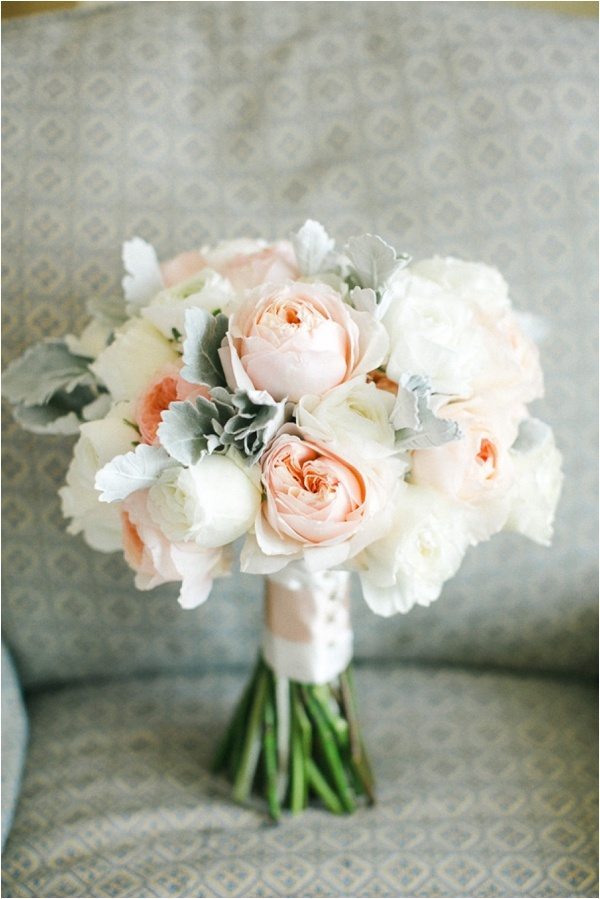
Secure these new stems in place with a couple of twists of string in the same place as before. Continue adding flowers for the next round, arranging these flowers slightly lower. Keep the bouquet a gentle rounded shape across the top, like an upside-down saucer. Criss-cross all the stems, and give the bouquet a quarter turn clockwise after adding a few stems. Secure stems in place with string or wire in the same place as before, as needed.
Continue adding flowers and foliage stems, turning the bouquet around clockwise until the bouquet is the desired size. To frame the result, I’ve added wired camellia leaves around the edges of the bouquet pictured here, but you could use more pieces of foliage, having the tips extend out about 2-3 inches past the edges of the flowers. Secure all your stems together with string, winding it firmly around several times in the same place as before. Now it’s time to cut the string and tuck the end in.
 Pinterest
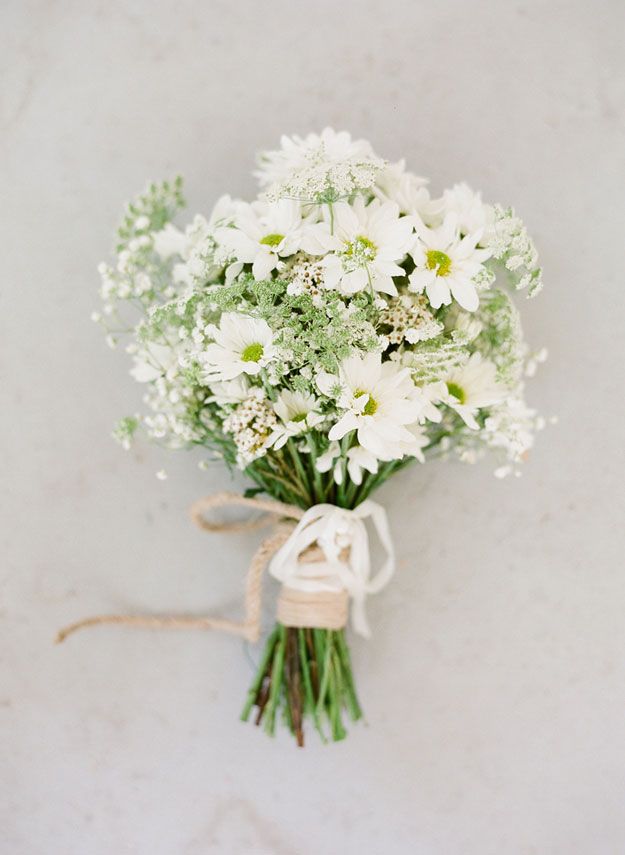
Finishing Touches
Cut the ends off the flower and foliage stems, so they are about 6-8 inches long and all the same length. Spray lightly everything with water. Finish off the bouquet by wrapping a length of wide ribbon around the stems to cover the string, and tie the ribbon in a shoestring bow (see: how to tie a shoestring bow) with long tails.